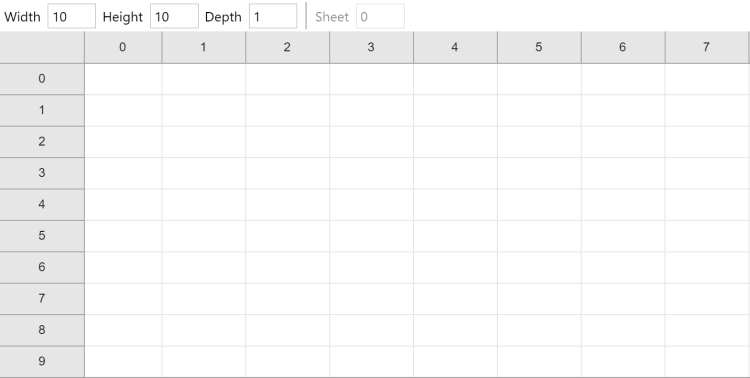
Paid plans only The Array editor allows editing an array data file for the Array object. The data you enter can be loaded at runtime by loading the project file in to the Array object. It provides a visual way to set the initial data for an Array. The Array Editor appears when editing or adding an array data file (in JSON format) in the Project Bar.
 The Array Editor
Opening the Array Editor
To open the Array Editor in a new project, start by adding a new Array file in the Files folder of the Project Bar. For more information, see project files.
Editing arrays
Initially the array is sized to 1 x 1, which means there is just one cell available. Use the Width and Height settings to change how many cells are available. This determines how many rows and columns appear in the editor, allowing you to enter more data.
Enter values in cells simply by typing in them. You can also navigate between cells using Tab or Ctrl + Arrow keys on the keyboard. Note that the type of cells are determined automatically: if you enter a number (e.g. 4.2), the value is set to a number type, otherwise it is saved as a text string.
Right-click a cell to open a context menu with options to clear, insert or delete rows and columns.
Editing 3D arrays
The Array Editor only displays a 2D grid of numbers, like a spreadsheet. However you can create a 3D array by setting the Depth greater than 1. For example if the width, height and depth are all 10, then there are 1000 elements in a 10 x 10 x 10 array.
To allow editing 3D arrays conveniently, you simply set which Z index you are editing, and edit values in that 2D plane of the array. Use the Sheet setting to move between each 2D "sheet" of the 3D array and edit them separately. This allows you to set all the values in a 3D array, while only editing a 2D section at a time.