Adding platforms with the Tilemap object
We now want to add platforms to our level. To do so we will use the Tilemap plugin which uses a tileset.
Tilemap uses a single image but allows you to draw elements (squares of Height/Width) out of this image and use specific collision polygons for those in your layout.
This makes perfect sense to use this plugin here in order to draw the platforms of our level.
Let's see how to do so.
Double-click a space in the layout. This will bring up the Create New Object Type dialog again.
This time, double-click the Tilemap object to insert it.
As with the Tiled Background, the mouse cursor turns into a crosshair and it doesn't matter where you are clicking in your layout.
The Tilemap Editor opens. It contains a default tileset, but we will want to use our own tileset for this.
Let's import the tileset Tilesheet\tilesheet_complete.png file from the Abstract Platformer pack.
Click the Open icon to import the image. Close the Tilemap editor by clicking the cross in the top-right corner.
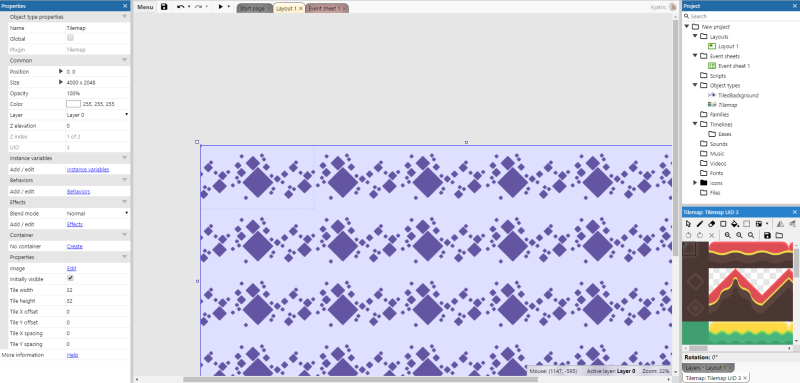
You are back to the layout view. An object taking the size of the layout is currently selected. It is not the Tiled Background as the name of the object is Tilemap.
 A Tilemap object was added to your project
In the Properties bar, let's change the value of Tile Width and Tile Height to 64.
64 pixels here makes sense as it is fitting the specific tileset we opened in the Tilemap.
It also corresponds to the character's animations we will be adding later to the project.
If you do not see it already, display the Tilemap bar by clicking the appropriate tab in the bottom-right corner.
In the Tilemap bar, moving your mouse cursor over the various tiles, you can see a square of appropriate proportions (64 pixels on 64 pixels, fitting the specific tileset we opened in the Tilemap) appearing.
Left click to select a tile.
Click the pencil tool in the toolbar on top of the Tilemap bar.
The selected tile appears under your mouse cursor when moving over the layout and is automatically "snapped" to a grid of Tile Width and Tile Height proportions.
Left-click to draw the tile.
At any time you can select a different tile from the Tilemap bar and draw it.
If you have made a mistake and want to remove a placed tile, you can either draw over it with a different tile, or use the eraser tool in the Tilemap bar toolbar.
Have fun with drawing your level.
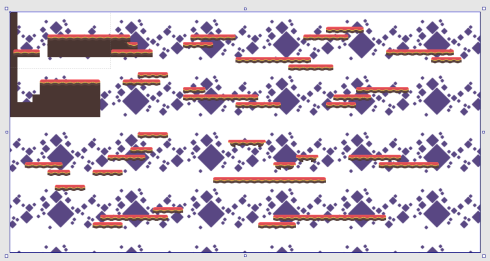
When you are done, it may look something like that :
 A level, made out of tiles drawn in the tilemap
Left click the select tool in the Tilemap bar toolbar.
This allows you to stop drawing/editing your Tilemap tiles and go back to the regular usage of the layout view.