GETTING STARTED
If you're not already looking at a fresh copy of Construct 3, simply visit editor.construct.net. That's right, Construct 3 runs right in your browser! There is nothing to install or set up. If you see an error, check the system requirements page, you might need to update your browser or system.
CREATE A NEW PROJECT
Click the New project button. A dialog will appear asking for some details. You don't have to change anything, but you can type in a name for your project if you like (how about My super awesome game?). Click Create and you should see a new empty project something like this.
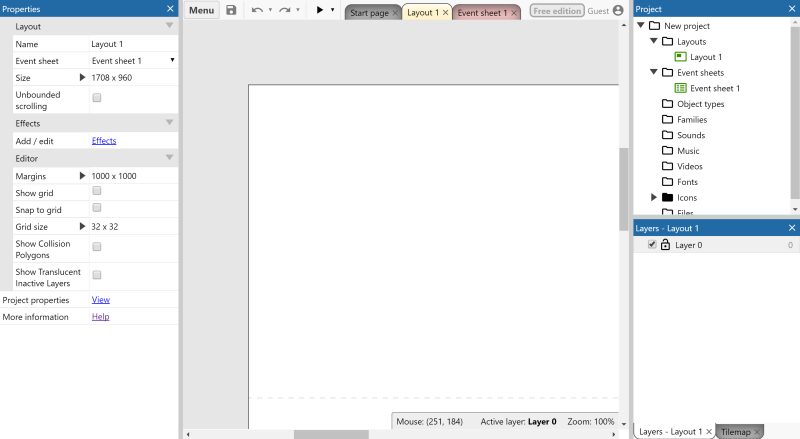 A new empty project in Construct 3
The main view in the middle of the screen is the layout view. This is the design view where you create and position objects. Think of a layout like a game level or menu screen. In other tools, this might have been called a room, scene or frame.
SIZE THE LAYOUT
First of all, we need the layout (level) to be a bit bigger than the default.
Left-click a space in the layout and the Properties Bar will display Layout Properties.
Change the Size of the layout to 4000 x 2048 in the Properties Bar.
Let's tile a background image across the layout.
Double-click a space in the layout. This will bring up the Create New Object Type dialog.
Double-click the Tiled Background object to insert it.
The mouse turns in to a crosshair. It doesn't matter where you place it initially, so just left click somewhere in the layout.
The Tiled Background Editor (based on the Animations Editor) opens so you can enter the image to tile.
Click the Open icon to import an image
 The Tiled Background editor
Select the PNG\Backgrounds\set1_tiles.png file from the Abstract Platformer pack.
Then close the Tiled Background editor by clicking the X in the top-right. You should see part of the background image in the layout.
We need to size the background to cover the entire layout. Make sure the Tiled Background is selected (left click it in the layout) and its properties should appear in the Properties Bar.
To make it cover the entire layout, set its Position to 0, 0 and its Size to 4000, 2048 (the same size as the layout).
The background image is now a motif that repeats itself over the whole layout.
It's hard to see the whole layout all at once at the current zoom level. Let's try zooming out to preview more of it.
Hold Control and scroll the mouse wheel down to zoom out. Alternatively, right-click the layout view and select View►Zoom out in the right-click menu.
You should be able to see the entire layout, a bit like this:
You are probably zoomed in to the middle of the layout now. Use the scrollbars to navigate back to the top left corner of the layout.
 The zoom level is displayed in the status bar at the bottom
We will want to add other object types to our game, on top of the Tiled Background.
However, we're going to keep accidentally selecting the Tiled Background unless we lock it, making it unselectable.
Right-click the Tiled Background to select it and in the right-click menu select Lock►Lock selection.
If you click in the layout view now, the Tiled Background is deselected and cannot be clicked upon, as it if it did not exist.